How to Clean a Chicken Coop?
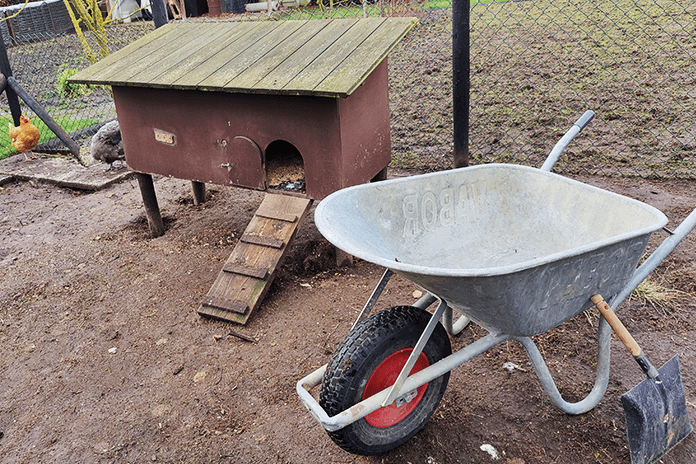
Now and then, your chicken coop needs a thorough clean. If you want to discourage bacteria, flies, mites, or other parasites from visiting your flock, you’ll need to disinfect and clean the coop regularly. Do this at least twice a year, next to the basic clean you do periodically. We’ll give you a hand to get started!
Things to do to clean a chicken coop thoroughly:
- Inspect the chicken coop
- Supplies
- DIY natural coop cleaner recipes
- Clean out chicken droppings and bedding
- Hose down and disinfect
- Add new bedding
- Clean feeders and waterers
Inspect the Chicken Coop before you start the clean
Inspect the enclosure thoroughly to determine what materials you need when sprucing up the chicken coop. Due to frost, rain, heavy winds, or just regular wear and tear, your pen can look shabby. Repair all damage while you clean the coop; that way, you catch two birds with one stone.
Remember that you’ll need separate shoes to wear inside the coop and run than you wear inside the house or put on to do groceries. Never use your ‘chicken coop shoes’ anywhere else to prevent cross-contamination, and keep your chicken run in a bio-safety zone.
Our extensive in-depth ‘Best Farm Shoes’-article addresses the 12 best farm shoes to wear inside the coop.
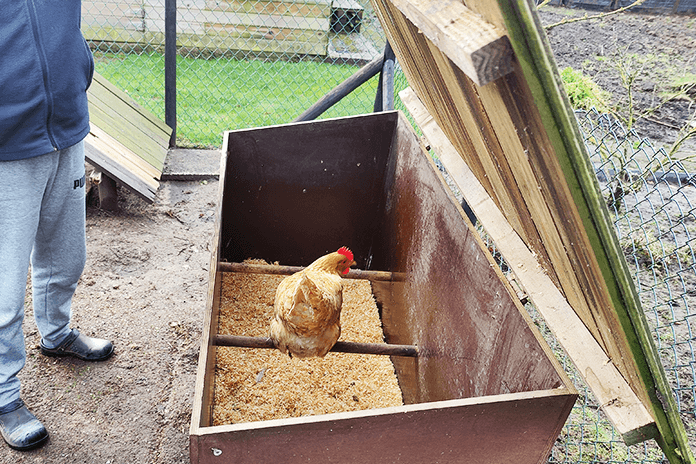
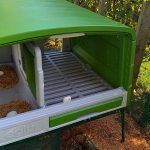
Look for broken windows, cracks in the roof, or splits in the wall. Watch for loose boards and if the hardware cloth is still installed correctly, and inspect the nesting boxes and roosting perches. In addition, check your chicken flock and coop for signs of mites or lice and examine the dropping board for signs of illness or worms.
After this is done, you’re ready for the next step!
Supplies to clean out the chicken coop
First of all, you’ll have to determine what products, materials, or supplies you need to clean out the chicken coop. Most cleaning products or garden materials can be found in any household, but a quick run to the shops may be necessary to purchase some missing items.
List of indispensable supplies:
- Wheelbarrow, rake, shovel, and broom
- Dustpan and (small) brush
- Paint scraper or wire brush
- Hose (and water)
- Natural vinegar spray
- Natural detergent
- Fresh bedding
DIY Natural Coop Cleaner recipes
Of course, all cleaning products are available in stores or markets. But did you know you can easily make a healthy, non-toxic, and aromatic coop cleaner yourself? We give you a few options to try out.
Lemon Vinegar Coop Cleaner
- One cup of water
- One cup of white distilled vinegar
- Lemon peel
- 10 drops of lemon essential oil
Add all ingredients together and fill a spray bottle. The longer you leave the lemon to soak inside the bottle, the more aromatic the product will get.
Lavender Vinegar Coop Cleaner
- One cup of water
- One cup of white distilled vinegar
- 5-8 drops of lavender essential oil
- 3-5 drops of lemon essential oil
Add all ingredients together in a spray bottle, and it’s ready to use!
Clean out chicken droppings and bedding
Now we get started! Remove all loose materials from the chicken coop, such as feeders and waterers. We start our chore by taking all droppings, feathers, and bedding material outside the coop. Using a paint scraper or wire brush, scrape off the remaining and dry chicken droppings.
Depending on the size of your chicken coop, this can be a time-consuming task. But it’s essential to be as thorough as possible because, unfortunately, droppings will not soften using water or detergent. Remove them all!
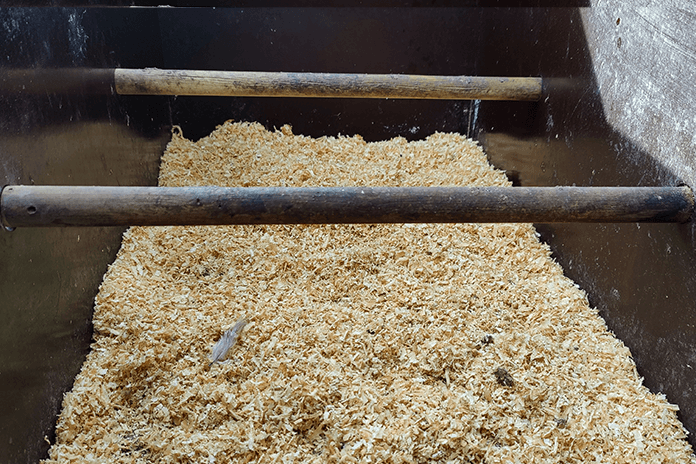
Use a broom to brush out the coop and a dustpan and brush to clean the nooks and crannies.
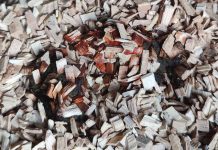
Carry the used bedding to a wheelbarrow after clearing the coop and scraping off all droppings. When using compostable bedding, you can easily compost all materials without worrying about where to go with the waste.
Hose down and disinfect
Brake down the hose and spray the entire thing down! You don’t need a pressure washer to clean out the chicken coop; a garden hose will suffice, but if you have one, use it.
Make sure to remove all leftover scrapings or dust. After hosing the coop, double-check whether all residue is removed. If not, repeat the previous step and hose down the coop again.
Now that the coop is empty and dust-free, it’s time to disinfect. We gave some tips for DIY-natural coop cleaners, but of course, you may use whatever you have in the cupboards. Be careful to use natural cleaning products that won’t irritate the chickens.
Never use bleach, as it can potentially interact with ammonia found in chicken droppings! Vinegar has very similar cleaning benefits, but without harming animals.
Soak the entire coop, roosting perches, and nesting boxes with the natural coop cleaner, and leave it for 15-20 minutes.
Hose down once more and leave to dry.
Add new bedding
After hosing down the chicken coop, leave it dry for a few hours. Make sure the chicken coop is completely dry before adding the new bedding. If you haven’t already thought about it, you can use the time it takes to dry out the coop to determine what bedding you want to use inside the chicken coop or the nesting boxes.
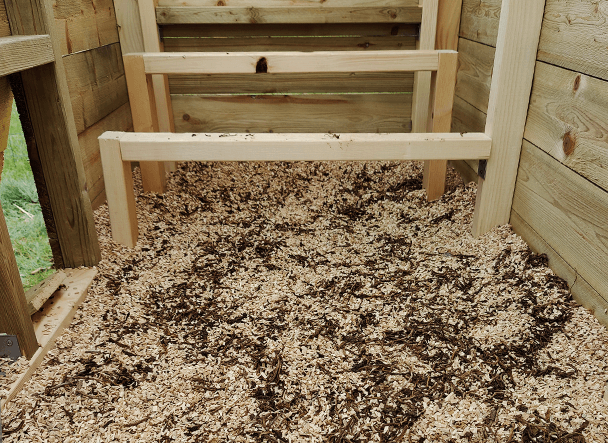
Add new bedding to the chicken coop floor and inside the nesting boxes. It’ll keep the chickens comfortable and warm. In addition, add fresh herbs to the bedding for a clean house aroma.
Clean feeders and waterers
Almost ready! Wash all feeders and waterers with lukewarm water. You can use a detergent but only natural detergents; make sure to rinse afterward thoroughly. Refill and replace inside or outside the coop.
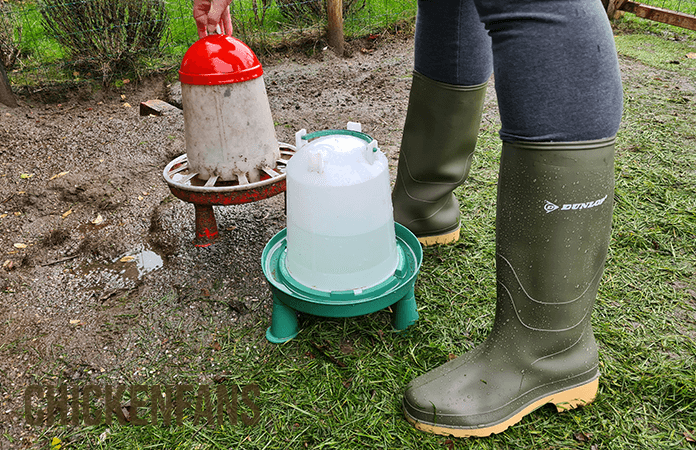
Done!
Now it’s time to bring back the flock. While inspecting their as-good-as-new accommodation, pamper your chickens with a yummy cabbage pinata or some tasty grapes. It’s almost like the complimentary ‘chocolate-on-pillow’!

