Hatching Chicken Eggs: Day by Day Guide
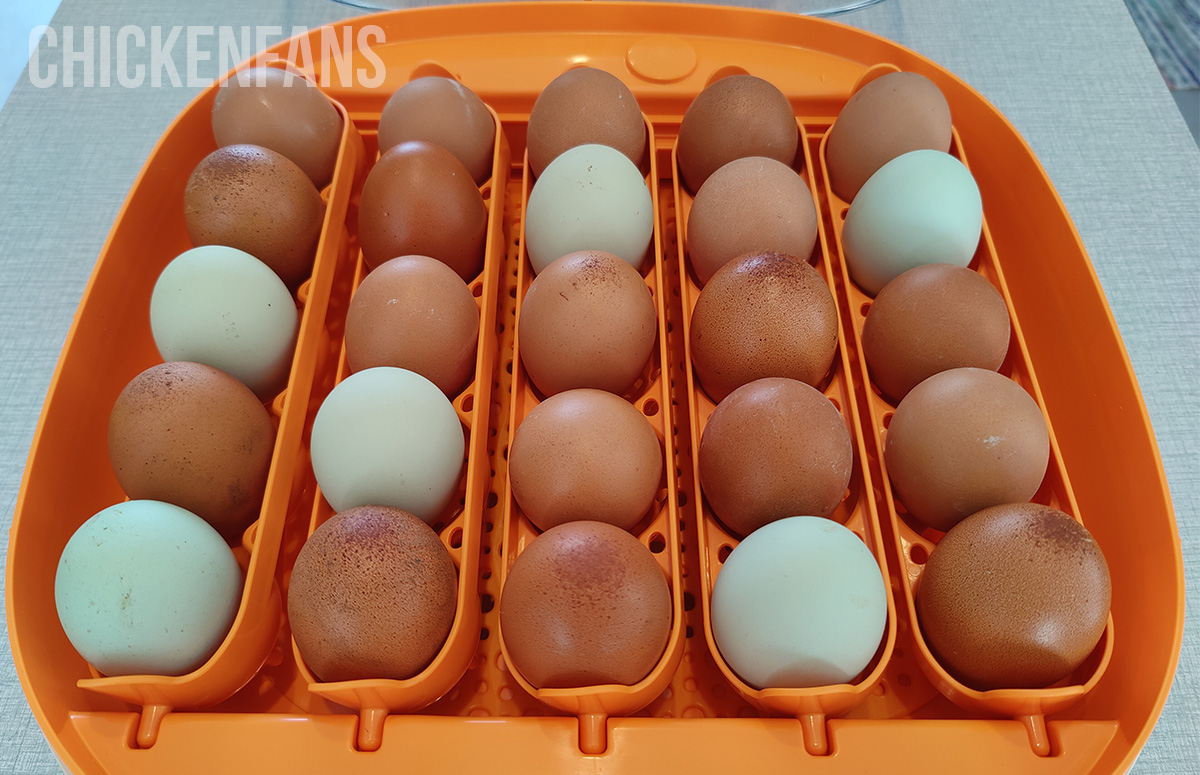
Hatching chicken eggs isn’t that difficult. When you have the time, and more importantly, when you have small children, it’s much more educational and way cooler to keep an eye on the hatching process yourself instead of buying an adult chicken.
Don’t worry; the chick inside does most of the work. Hatching eggs isn’t that hard. You need to be patient, and it will all be worth it in the end.
We’ll take you through the process step by step.
- How Long Does it take for a Chicken Egg to Start Hatching?
- When is the Best Time of Year to Incubate Chicken Eggs?
- What Equipment do I Need?
- How to Set up an Incubator?
- Can I Hatch Chicken Eggs without the use of an Incubator?
- Ultimate Day to Day Guide to Hatching Eggs
- What Happens to Eggs that haven’t Hatched after Day 23?
How Long Does It Take For A Chicken Egg To Start Hatching?
It takes approximately 21 days for a chicken to break through the shell when temperature and humidity are ideal during incubation. Of course, this is just a general guideline. Sometimes, it takes more time, or it takes less time.

When Is The Best Time Of Year To Incubate Chicken Eggs?
The best time to brood, incubate, or hatch chicken eggs is during (early) spring, from February to May. It doesn’t matter much if you want to incubate chicken eggs during fall or winter, but chickens born in spring are usually stronger and healthier.
What Equipment Do I Need to Hatch Chicken Eggs?
Before you start hatching chicken eggs, make sure you have the following01 items:
- Egg Incubator
- Fertile Eggs
- Water
- Egg Carton
Let’s get started!
How to Set up an Incubator to Hatch Chicken Eggs?
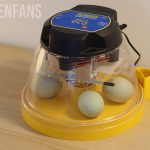
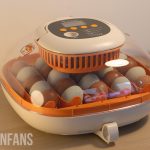
The primary function of an incubator is to keep the eggs warm and the environment humid. Investing in a fully automatic incubator is advisable if you lack experience hatching chicken eggs. There are countless types and brands of incubators, so make sure you buy the right one for your needs.
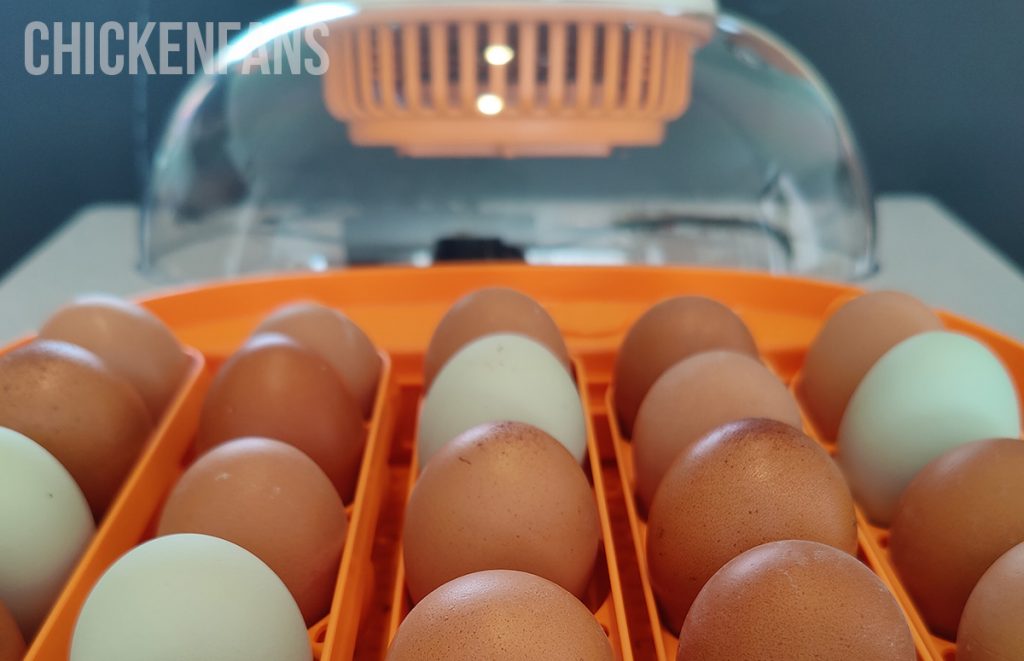
Features that are very useful to start hatching chicken eggs:
- Forced air (fan)
- Temperature and humidity controller
- Automatic egg-turning system
Set-Up
Ensure you set up your incubator at least five days before use and turn it on 24 hours before use to ensure you understand the temperature and humidity control. Avoid placing the incubator in direct sunlight, and wipe it clean with a warm water-dipped cloth before use.
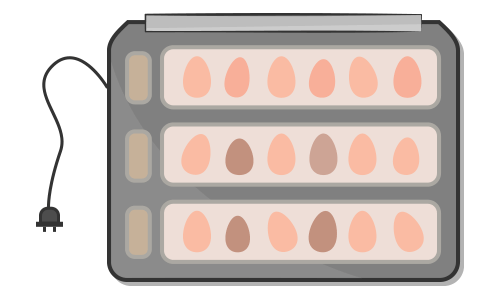
When you have purchased fertile eggs, please keep them in an egg carton for 3 to 4 days in a room-temperature environment, but do not put them in the refrigerator. Room temperature means around 55-65°F (12° to 18°C).
After this, the incubation process can set the right temperature and humidity levels.
The perfect temperature in an incubator is in a forced air machine (with a fan) 99ºF and in still air, 38º – 102ºF.
Humidity levels should be 55% from day 1 to day 17. After day 17, we increase the humidity level, but we’ll get to that later.
Can I Hatch Chicken Eggs Without An Incubator?
Of course, you can hatch eggs without the use of an incubator. You’ll need a broody hen.
If you don’t want to use an incubator, you can find yourself a broody hen to sit on the eggs. She will stay on top of the eggs and will only leave the nesting box to eat and for a bathroom break. Your eggs are in perfect hands!
Day-to-Day Guide to Hatching Chicken Eggs
Day 1 – 17
Congratulations! You’ve started to enjoy the most beautiful process of hatching chicken eggs.
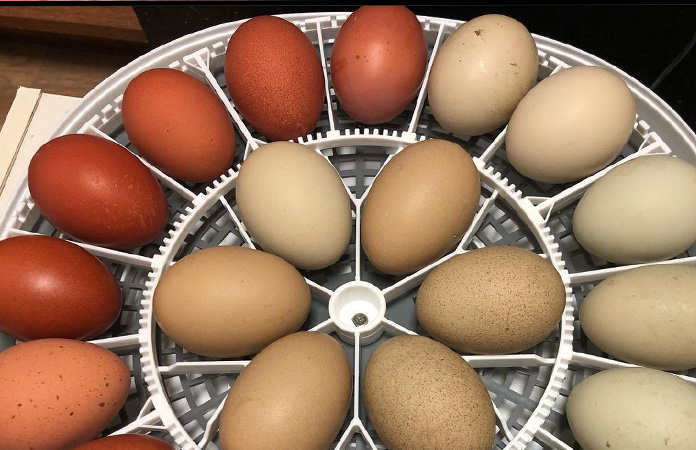
Carefully place all eggs in the incubator. Depending on the type of incubator you have purchased, you need to place the eggs down (horizontally) or standing up (vertically). Important to know when placing the eggs ‘standing up’, you put the eggs with their slimmer end facing downward.
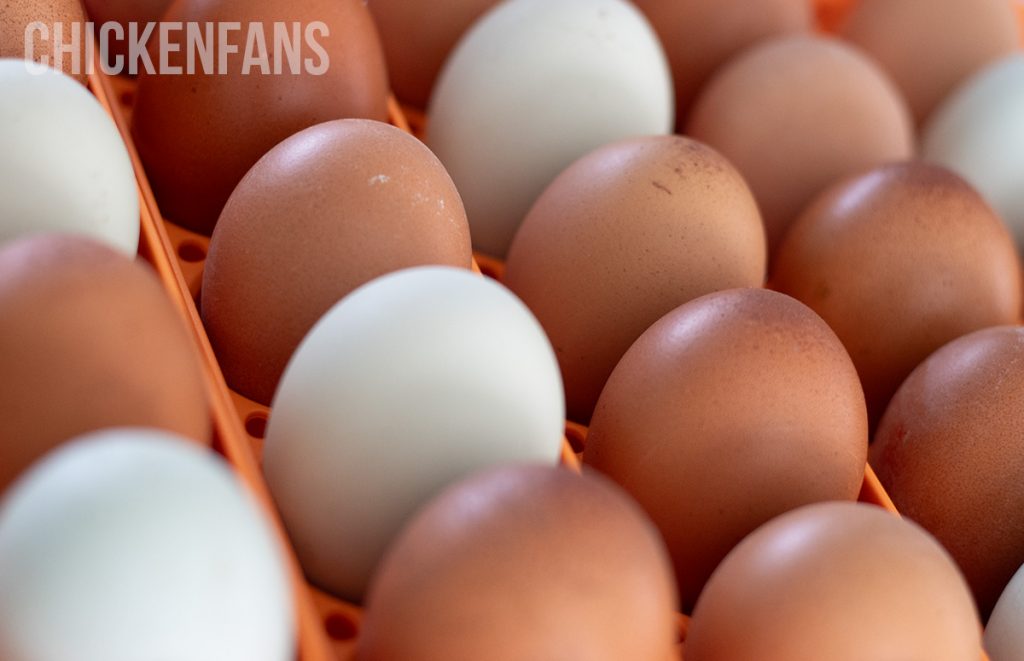
Now that you’ve placed all eggs in the incubator, the waiting game begins. Make sure not to adjust the temperature and humidity of the incubator during the first 4 to 6 hours after you’ve placed the eggs.
As mentioned earlier, the correct temperature in an incubator is in a forced air machine (with a fan) 37,5ºC / 99ºF and in still air, 38º – 39ºC / 102ºF. Humidity levels should be 55%. Please always double-check the instructions in the manual of the purchased incubator.
Turning the eggs on days 1 to 17 is your most important task. The automatic egg-turning system of your incubator can be a great help. If you have purchased an incubator without this feature, no worries; you can still do it by hand.

Turning the eggs as frequently as possible is crucial, preferably once every hour and at least five times in 24 hours. This process will be repeated until day 18 of the hatching process.
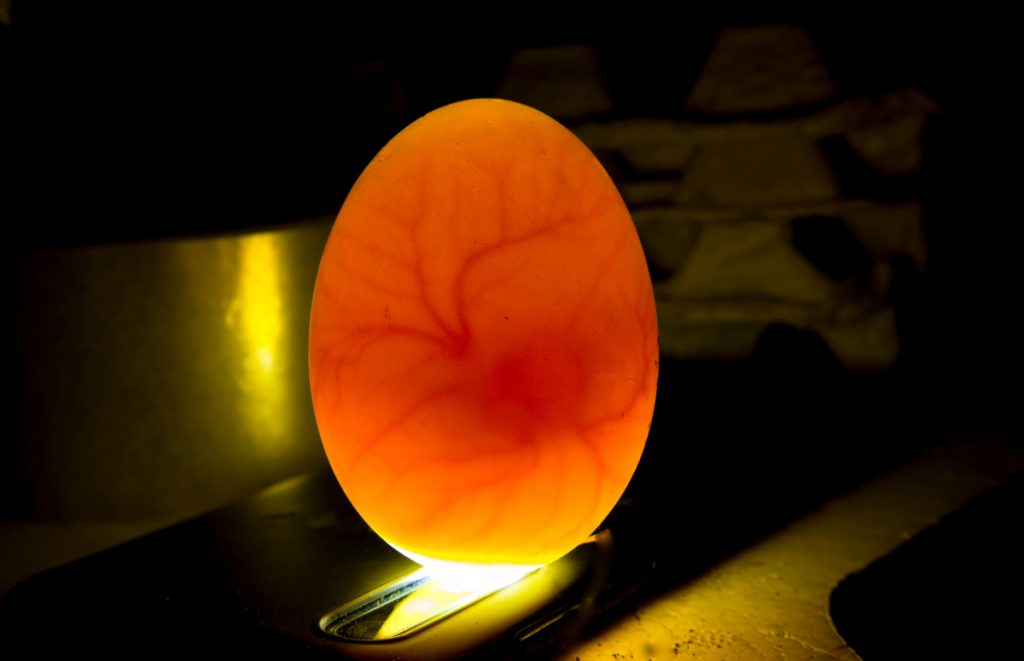
On day 11, you can check on your baby chicks by candling the eggs. You can do this by holding a flashlight directly under the egg and inspecting the formation of your chick’s embryo.
After inspection, you can remove all infertile eggs from the incubator.
What else can you do: days 1 – 17?
During these first 17 days, there is nothing more to do than wait and watch the eggs—a perfect time to start thinking about where to keep the baby chicks after hatching.
They’ll need loads and loads of warmth and special food during the first days and weeks, so make sure you have all the equipment for that, like a heat lamp or heat plate and special feed.
Day 18 – 21
This is getting exciting! After 17 days, the chicks are almost ready to hatch, and you should stay on standby as much as possible. Any day now, egg hatching could occur.
Do’s:
- Stop turning the eggs
- Increase the humidity level to 65-70%
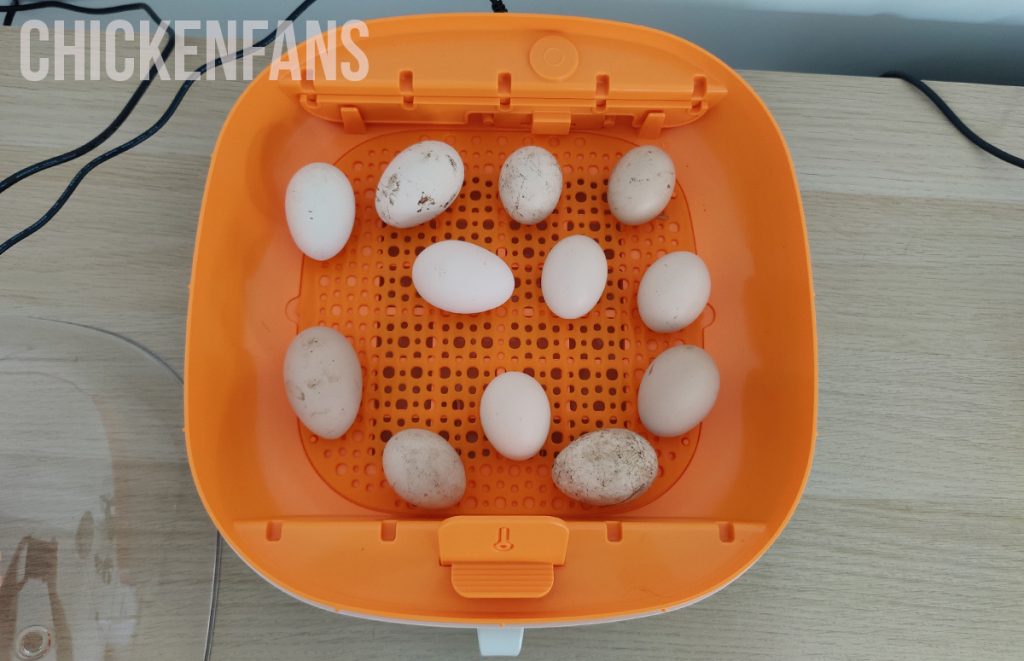
At this moment, the eggs should be left alone. Don’t open the incubator, don’t touch the eggs, or change the humidity and temperature.
happy hatching day!
Between days 20 and 23, your eggs will start to hatch.
Usually, this process begins on day 21, but don’t worry if your chick is a little early or late. The baby chick does not need help hatching, so please be patient and let them start and finish this process independently.
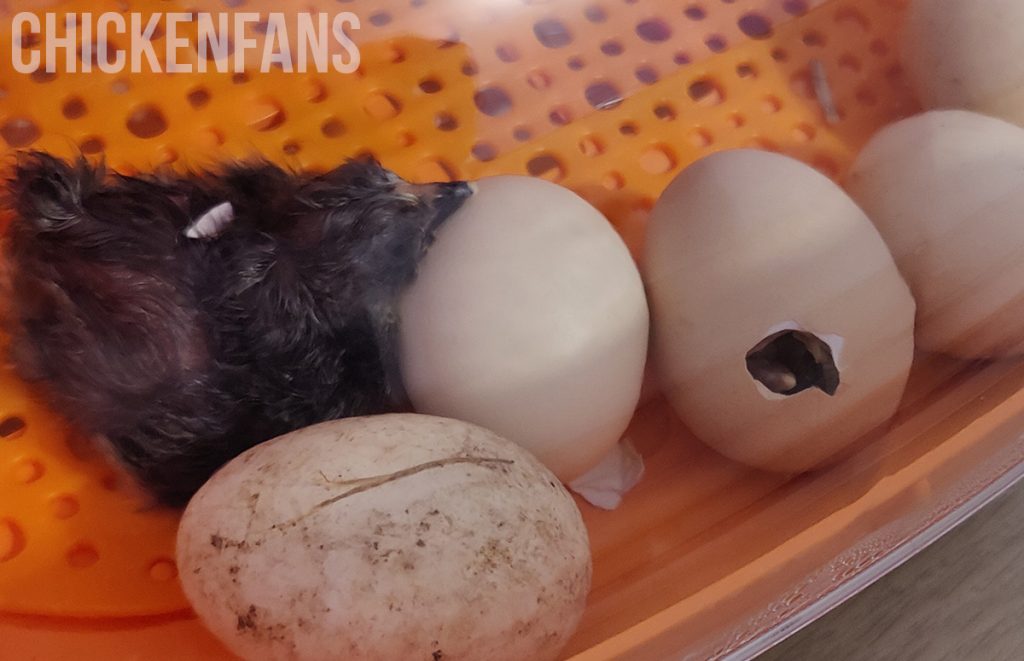
The first thing you will notice is a small crack in the surface of the eggshell; it’s called a ‘pip.’
The first pip is a magical moment, so make sure to enjoy every second. After pecking its first hole, it can go very fast (within an hour), but it can take up to 24 hours or more for a chicken to hatch completely.
Once the chickens are fully hatched, let them dry for about 24 hours before opening the incubator. There is no need to feed them at this point.
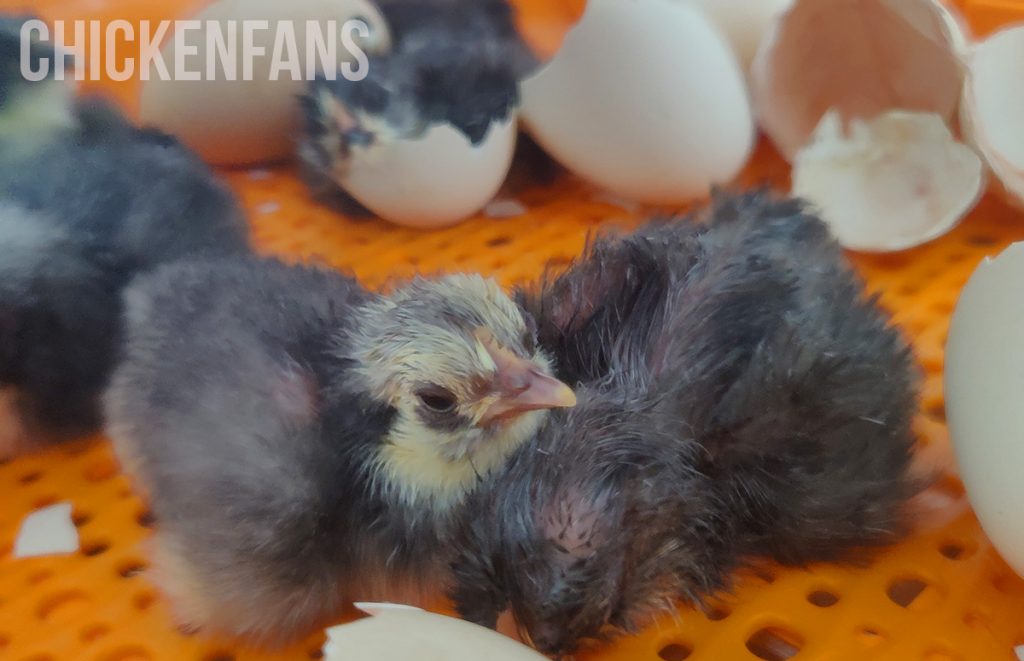
When they’re all fluffy, relocate them to a pre-heated brooder and give them something to eat and drink. I’m sure they’ve earned it!
You can start enjoying these fluffy chicks to the fullest this time! Make sure to prepare the brooder to begin raising your baby chicks.
What happens to Eggs that haven’t hatched after day 23
Some chickens are a little late with their hatching process, so don’t panic; there is still a chance to succeed. Many issues can influence the duration of this process, most of them due to temperature reasons.
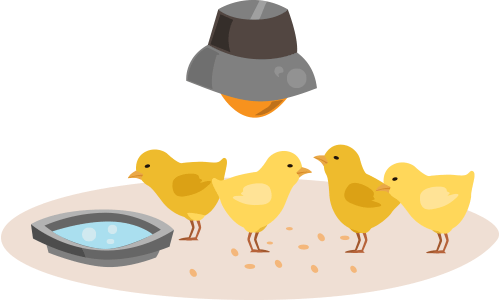
There is also a way you can tell an embryo is still alive and about to hatch, and it demands a bowl and some warm water.
Take a bowl with good dept and fill it with warm (not boiling!) water. Carefully place the egg into the bowl and lower it by just a few inches. Maybe you have to wait a couple of minutes before the egg starts moving, but there are a couple of things that can happen.
- The egg sinks to the bottom. This means the egg was never developed into an embryo.
- 50% of the egg floats above water level. Nonviable egg. Not developed or fetal demise.
- The egg floats under the water’s surface. Possible viable egg, be patient.
- The egg is floating under the water’s surface and moving. Viable egg!
When the egg hasn’t hatched after day 25, it probably isn’t going to happen anymore…

